
Student --"Why do you make that funny face when you draw Mr. G?"
Mr. G -- "What funny face?"
Student -- "You know the one where your face is all squinchy?"
After years of painting and drawing, it has become instant habit to squint at my art making surface from the first mark made. My purpose is to simplify what I see. To move from very general to extremely specific. I teach some introductory drawing and painting lessons using this same squint technique. It is described with examples below.
At the end of the lesson this year, one of my star artists said "Can't we just do this everyday?" It's an engaging, exciting, in your face project that makes an art period fly by. I transition into a loose painting with original imagery after this introductory "squinchy" lesson.
Supplies
Tempera or acrylic paint. Oil would work as well, but this project is messy... I avoid it.
Toned paper or a toned canvas. Opt for middle tonal values.
Brushes. Small flats and rounds.
Find an amazing image...
I start with a black and white photo, usually an iconic image and limit the students to black and white paint. I also limit the amount of brushes. I encourage them to work loose and wet.
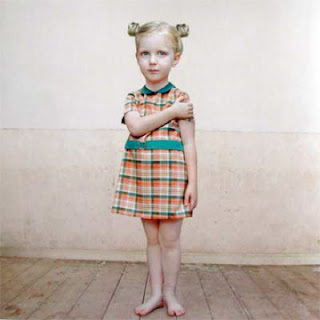
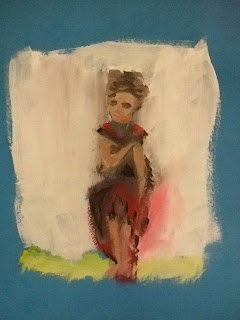
The second image I find is color. The image I use below is one from the artist Loretta Lux.
I start with a black and white photo, usually an iconic image and limit the students to black and white paint. I also limit the amount of brushes. I encourage them to work loose and wet.
The second image I find is color. The image I use below is one from the artist Loretta Lux.
Limit the Palette. Black, white, and primarys.
Paint in at least three steps.
1. Paint an extremely blurred image, turn it 90 degrees if it helps. Allow painters 5-8 minutes to dig in and paint the general color and value scheme. Work quick and loose, don't worry about specifics, nothing in the pic is specific.

2. Focus the image a bit more and allow the students 5 more minutes to focus the strokes.
3. Finally, return the photo to it's original state of focus and vibrancy.
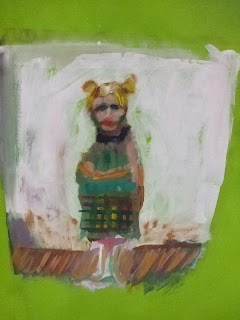
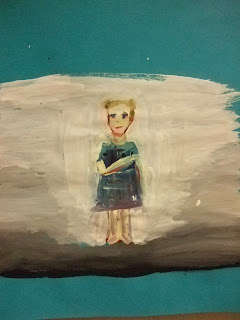
Here are some of my student's works accomplished in approx 25 minutes.


No comments:
Post a Comment